Expert Product Photography Techniques for Stunning Results
- Justin Prappas
- Jan 5
- 4 min read
When it comes to showcasing products, the quality of your images can make or break a sale. I’ve learned that great product photography is not just about having a good camera. It’s about understanding lighting, composition, and the story you want to tell with your product. Whether you’re selling online or creating marketing materials, mastering product photography techniques can elevate your brand and attract more customers.
In this post, I’ll share practical tips and expert techniques that will help you capture stunning product photos. These methods are designed to be easy to apply, even if you’re just starting out or looking to improve your current setup.
Mastering the Basics of Product Photography Techniques
Before diving into advanced tricks, it’s important to get the basics right. Here are some foundational product photography techniques that set the stage for great images:
Lighting is everything: Natural light is often the best choice for product photos. Shoot near a large window with indirect sunlight to avoid harsh shadows. If natural light isn’t available, use softbox lights or LED panels to create even, diffused lighting.
Use a clean background: A plain white or neutral background keeps the focus on your product. You can use a sweep of paper or fabric to create a seamless backdrop.
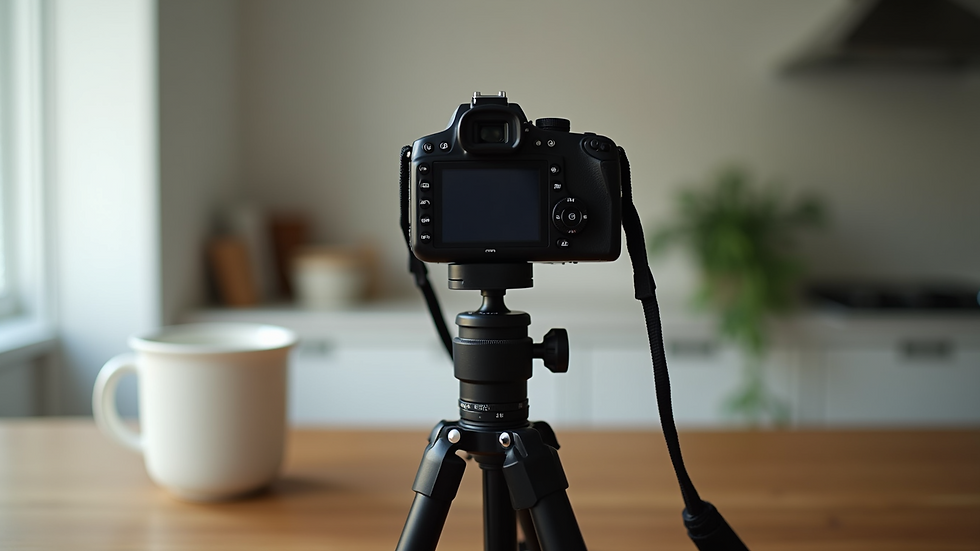
Stabilize your camera: Use a tripod to avoid blurry images caused by hand movement. This also helps you keep the same framing for multiple shots.
Focus on sharpness: Make sure your product is in sharp focus. Use manual focus if your camera struggles with autofocus on small or reflective items.
Shoot from multiple angles: Capture your product from different perspectives to give viewers a complete understanding of its features.
By mastering these basics, you’ll create a solid foundation for more creative and professional product photography.
Advanced Product Photography Techniques to Enhance Your Images
Once you have the basics down, you can start experimenting with techniques that add depth and interest to your photos. Here are some expert tips I use regularly:
Use Reflectors and Diffusers
Reflectors bounce light back onto your product, filling in shadows and highlighting details. You can use professional reflectors or even DIY options like white foam boards or aluminum foil. Diffusers soften harsh light, preventing glare and hot spots on shiny surfaces.
Control Reflections on Shiny Products
Products like glass, metal, or plastic can be tricky because they reflect everything around them. To manage reflections:
Use a light tent or shoot inside a DIY lightbox.
Position lights at angles that minimize unwanted reflections.
Use polarizing filters on your camera lens to reduce glare.
Play with Depth of Field
A shallow depth of field blurs the background and draws attention to the product. Use a wide aperture (small f-number) to achieve this effect. This technique works well for highlighting textures or specific product features.
Incorporate Props and Styling
Adding simple props related to your product can tell a story and create context. For example, photographing a coffee mug with coffee beans or a cozy blanket can evoke a warm, inviting feeling. Just be careful not to overcrowd the frame.
Use Color Contrast
Choose background colors or props that contrast with your product to make it stand out. For example, a bright red product looks striking against a soft gray or white background.

How to Set Up a DIY Product Photography Studio at Home
You don’t need a professional studio to take great product photos. With a few simple tools and some creativity, you can create a setup that works for your needs.
Essential Equipment
Camera: A DSLR or mirrorless camera is ideal, but a good smartphone camera can also work.
Tripod: Keeps your camera steady and helps with consistent framing.
Lighting: Use natural light or affordable softbox kits.
Backgrounds: White foam boards, fabric, or paper rolls.
Reflectors and diffusers: DIY or purchased.
Step-by-Step Setup
Find a spot near a large window with plenty of natural light.
Set up your background so it curves smoothly from vertical to horizontal.
Position your product in the center of the background.
Use reflectors opposite the light source to fill shadows.
Mount your camera on the tripod and adjust the height and angle.
Take test shots and adjust lighting or product placement as needed.
Tips for Consistency
Keep your camera settings the same for all shots.
Use manual white balance to avoid color shifts.
Label your backgrounds and props to reuse the same setup easily.
This DIY approach is perfect for small businesses and brands looking to create professional-quality images without a big budget.
Editing Tips to Make Your Product Photos Pop
Editing is the final step that can transform a good photo into a great one. Here are some editing techniques I recommend:
Adjust brightness and contrast to make your product stand out.
Correct colors to ensure they match the real product.
Remove blemishes or dust spots using healing tools.
Crop and straighten to improve composition.
Sharpen details to enhance textures.
Use batch editing if you have many photos to keep a consistent look.
Popular editing software includes Adobe Lightroom, Photoshop, and free options like GIMP or Canva. Even simple apps on your phone can make a big difference.
Why Professional Product Photography Services Matter
While DIY techniques can take you far, sometimes it’s best to bring in the experts. Professional product photography services offer:
Access to high-end equipment and studio setups.
Experienced photographers who understand lighting and styling.
Post-production expertise for flawless images.
Faster turnaround times for large projects.
For businesses in Metro Detroit aiming to elevate their brand presence, investing in professional photography can be a game-changer. It ensures your products look their best and connect with your audience effectively.
Taking Your Product Photography to the Next Level
Mastering product photography techniques is a journey. Start with the basics, experiment with lighting and composition, and don’t be afraid to try new ideas. Whether you’re shooting at home or working with professionals, the key is to keep your product front and center and tell its story through your images.
Remember, stunning product photos don’t just show what you sell - they create desire and trust. With the right techniques, you can make your products shine and stand out in a crowded market. Happy shooting!


Comments